Original: $140.99
-65%$140.99
$49.35The Story
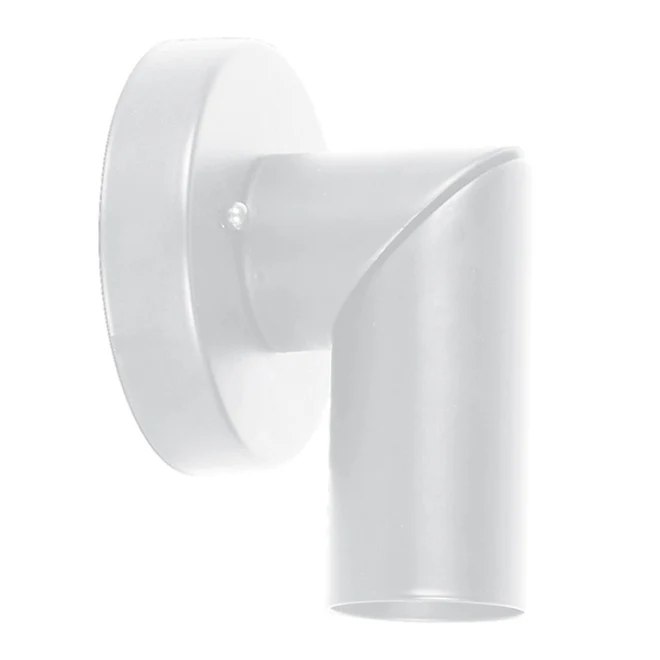
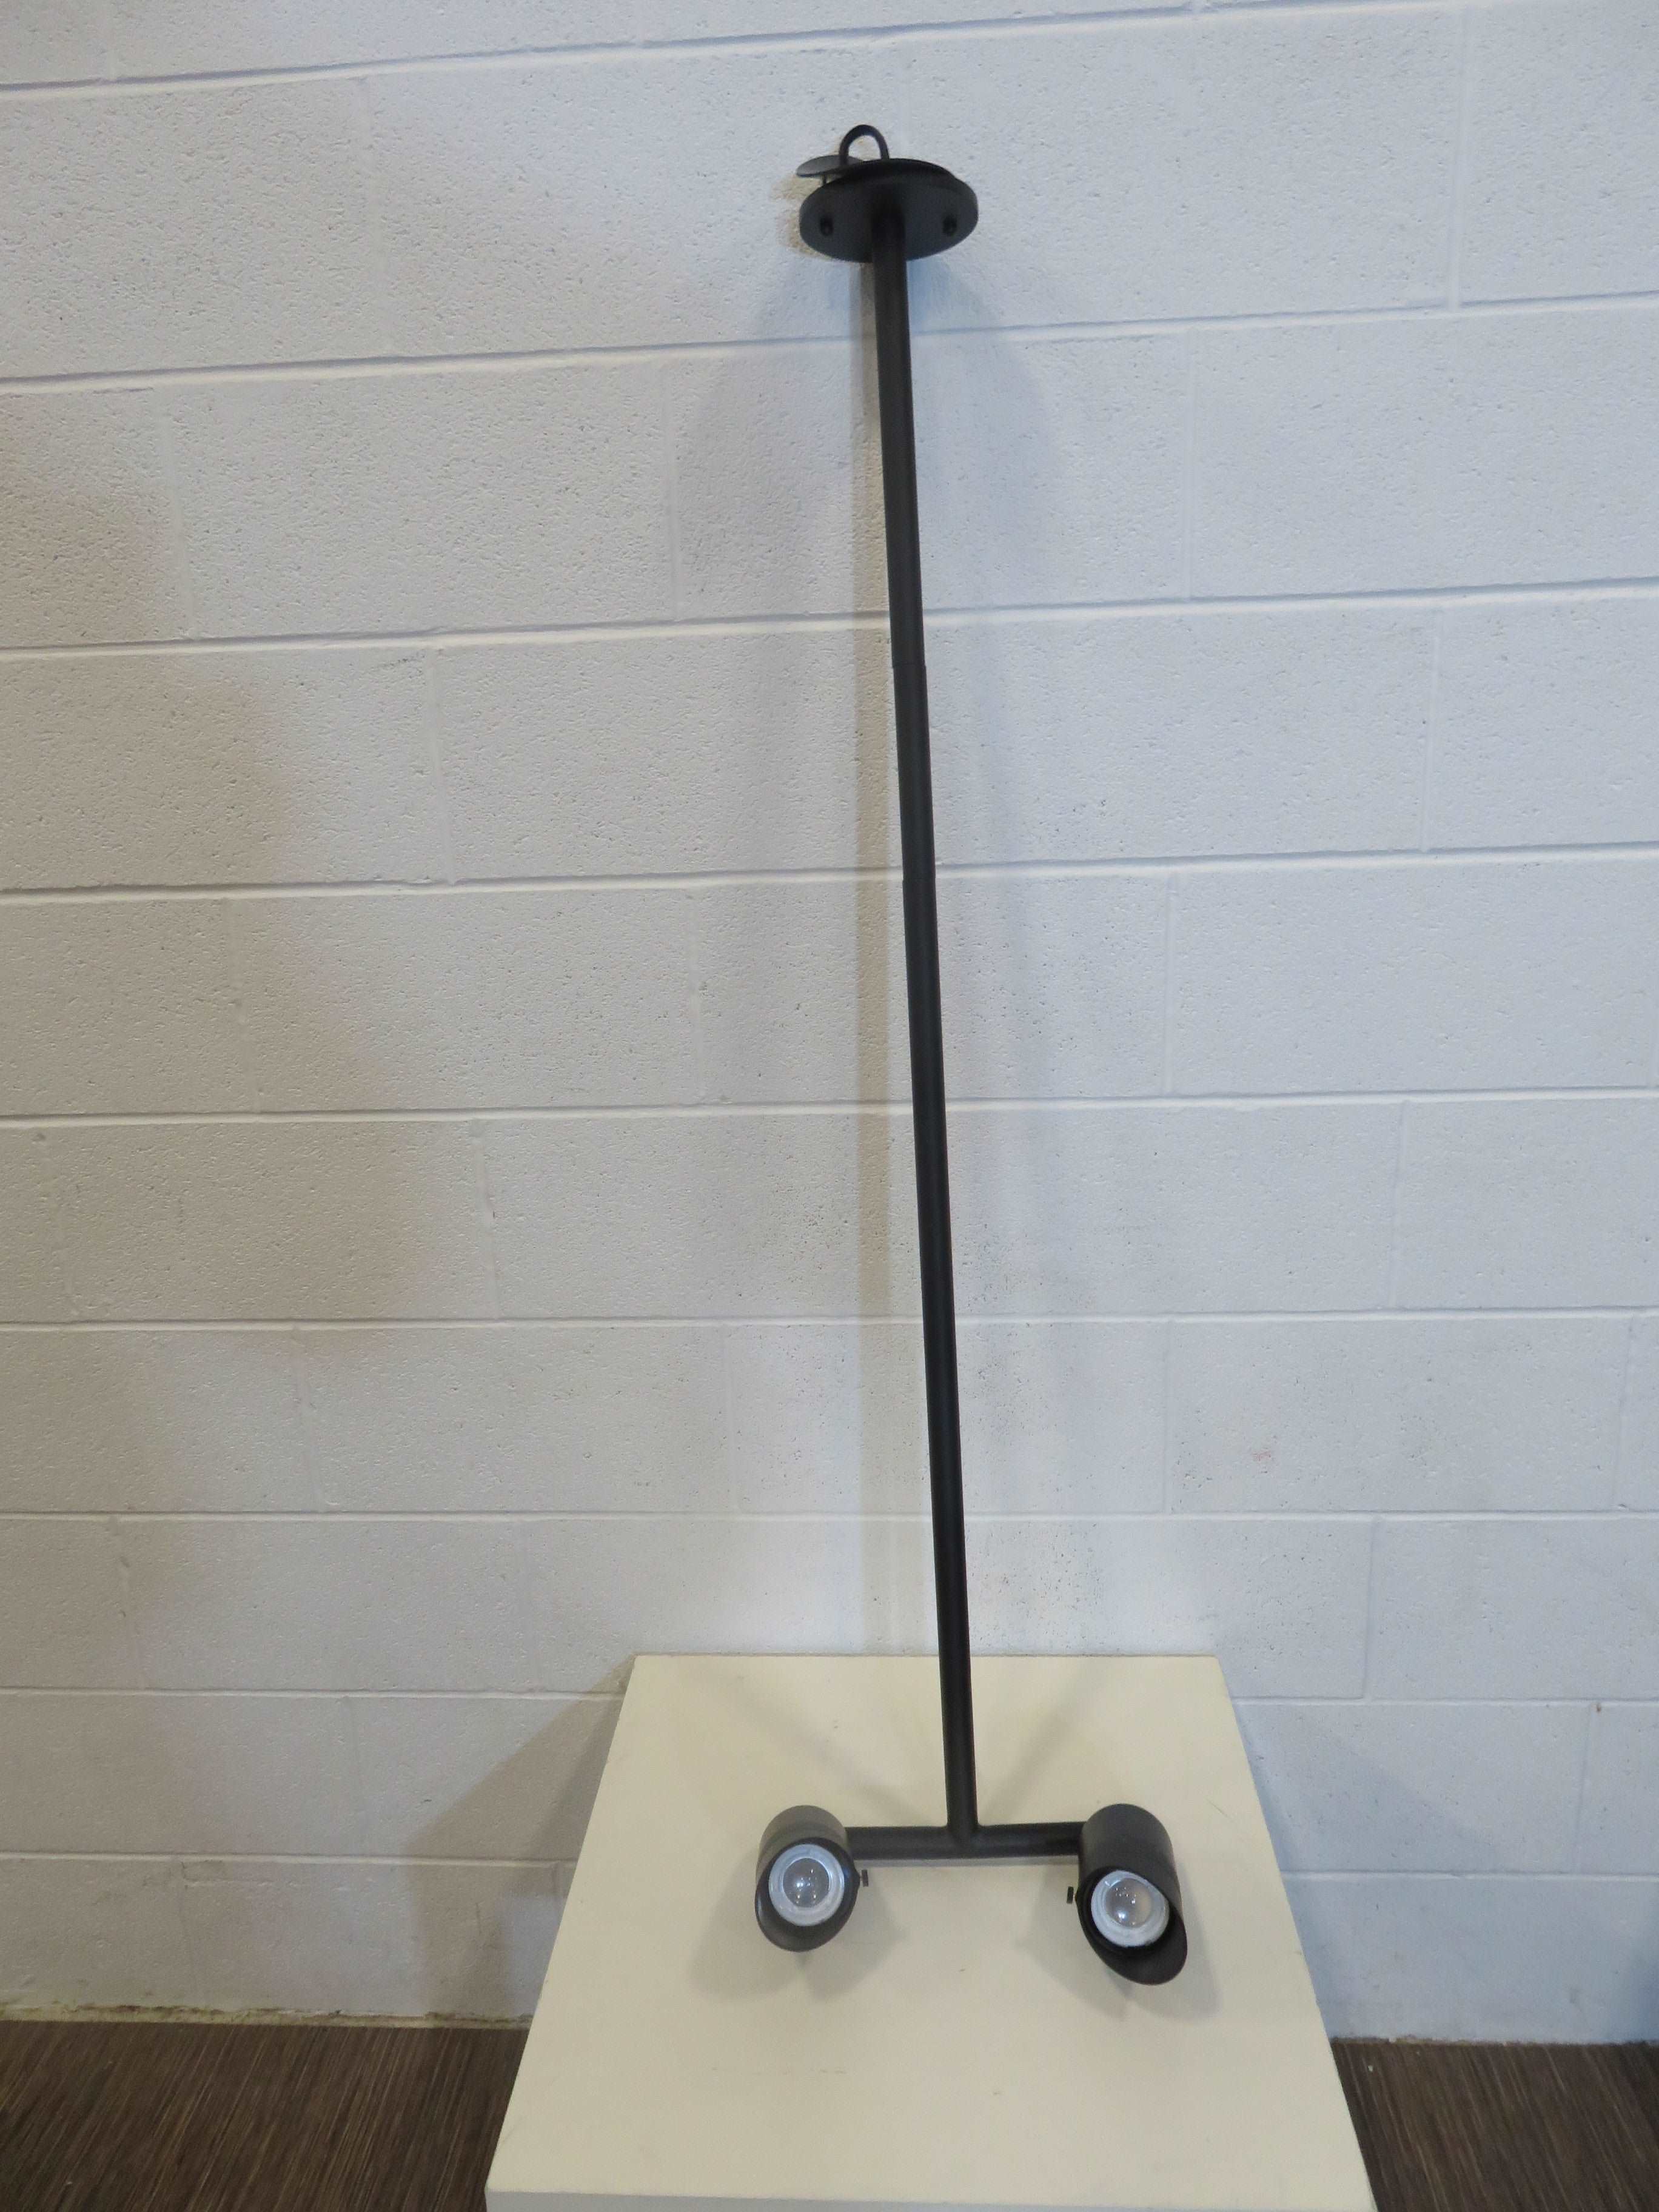
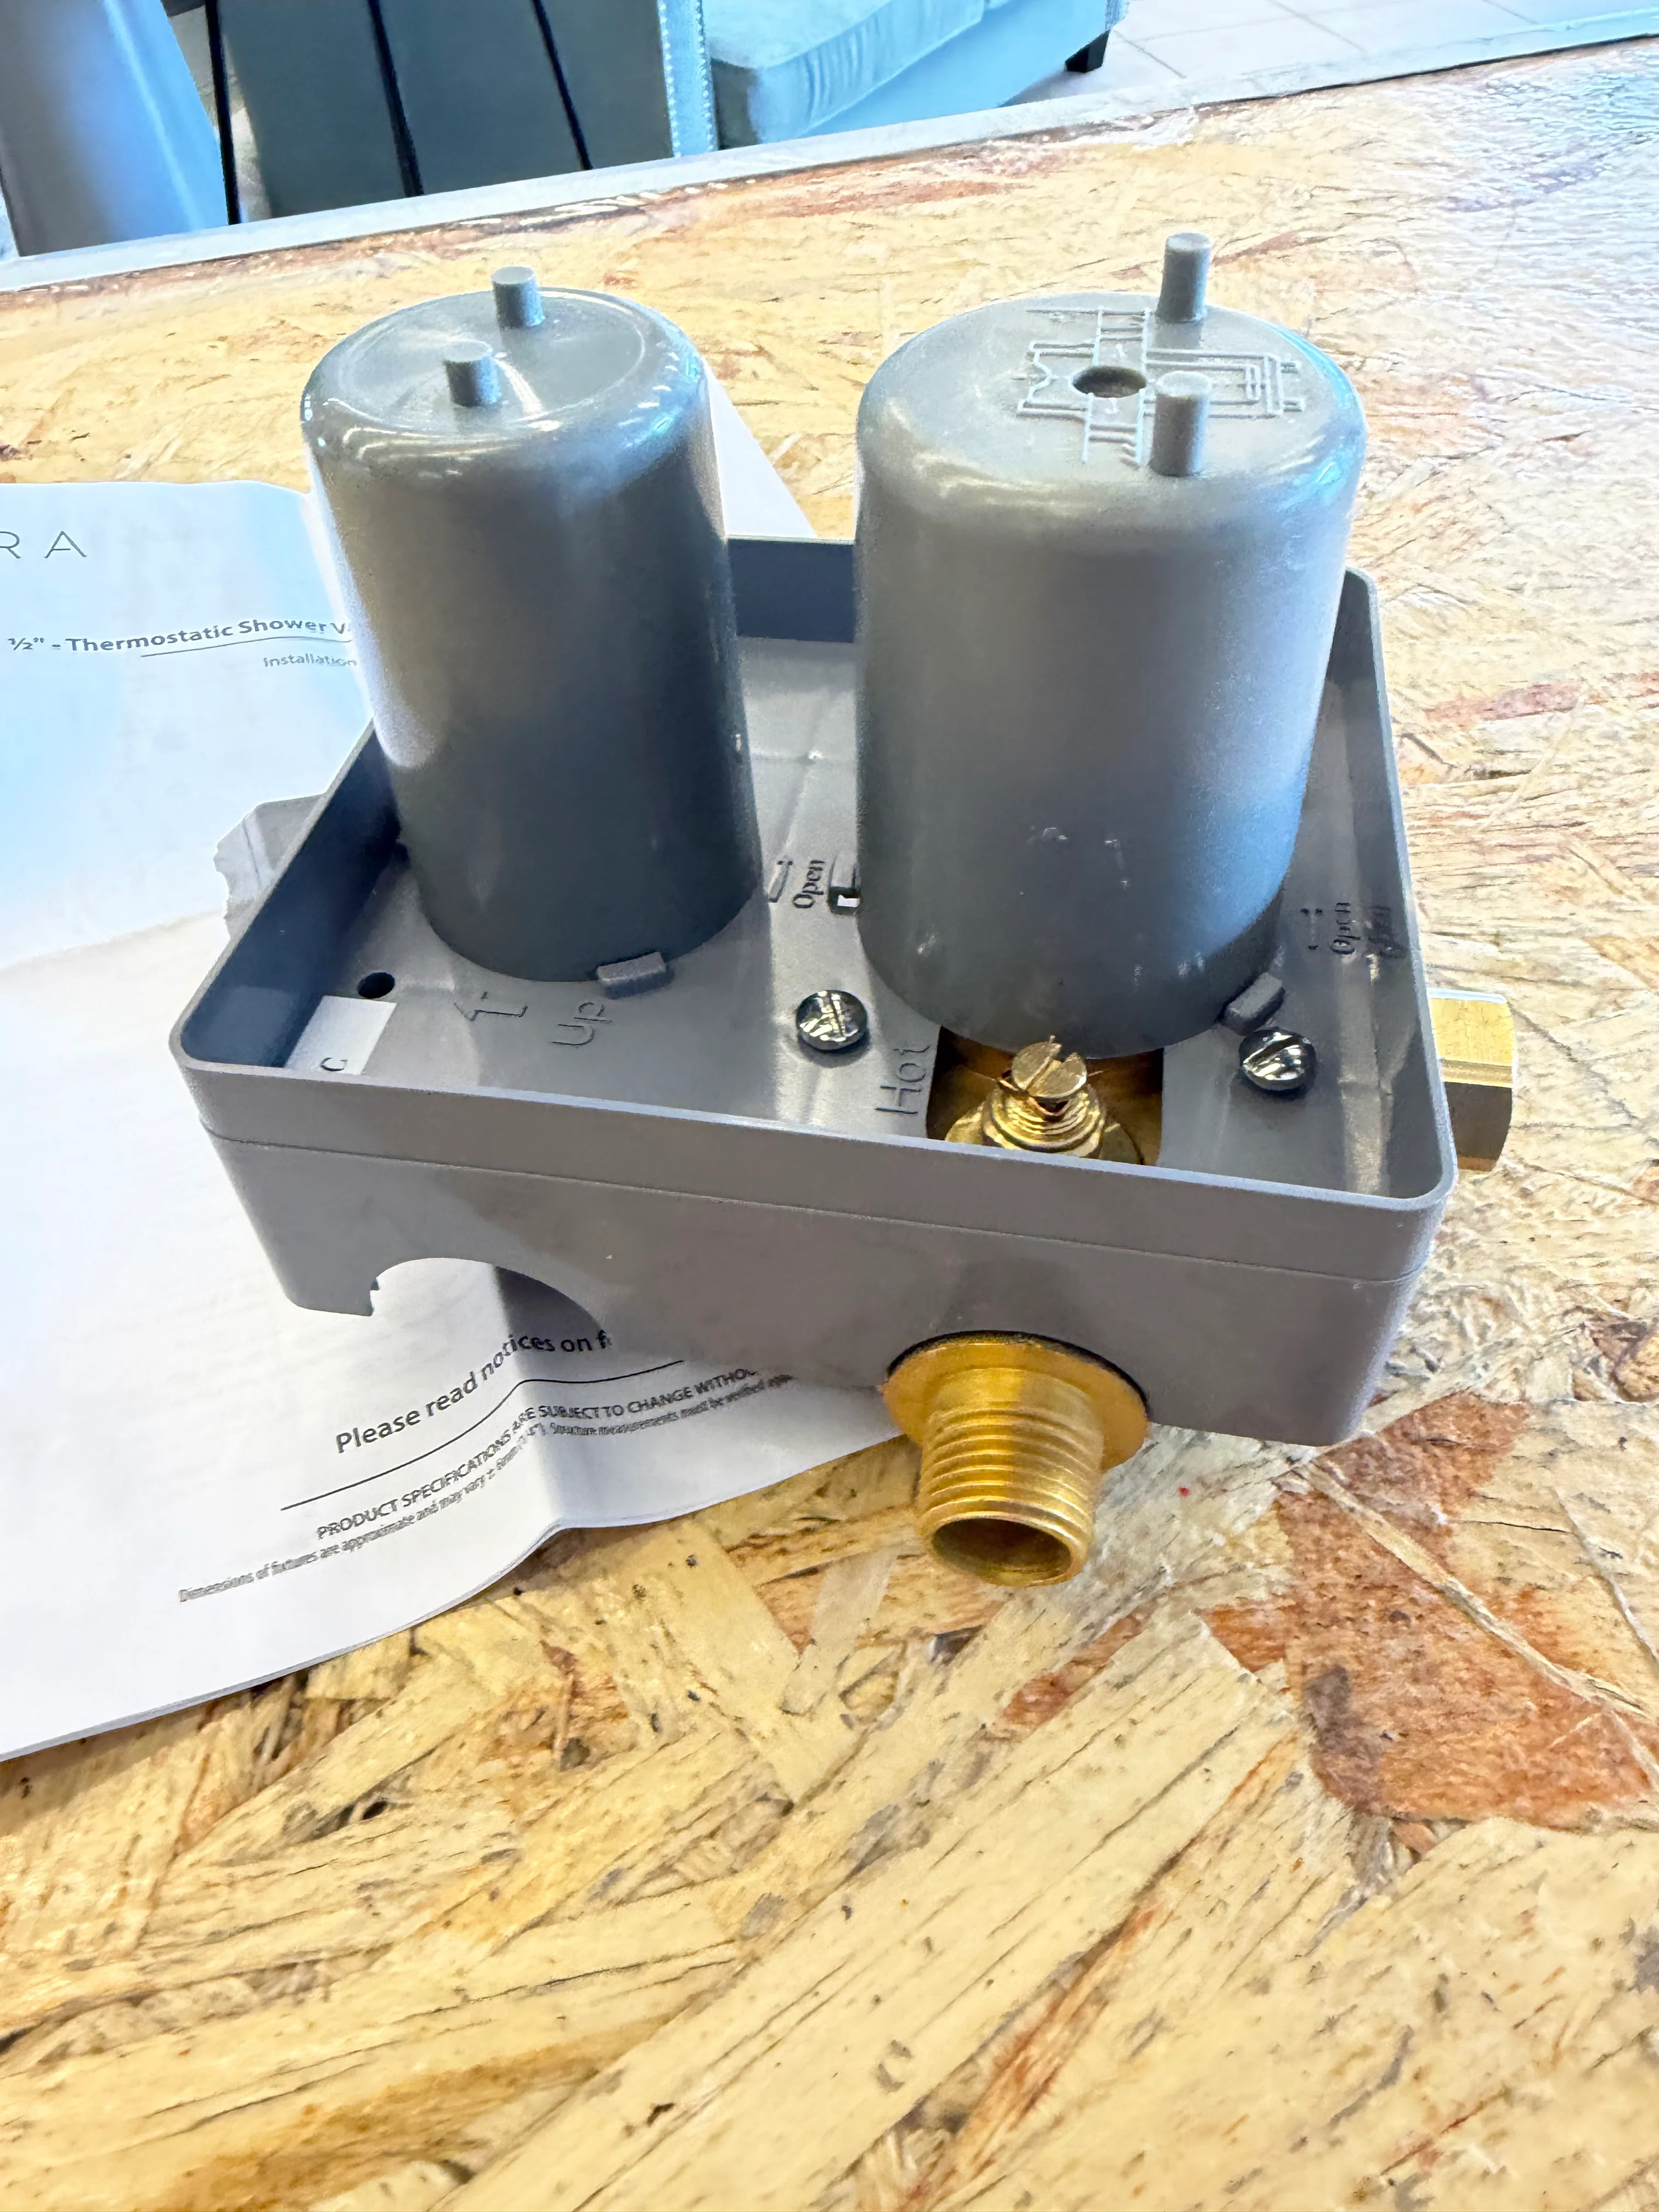
- This out of box Aura 1/2" Thermostatic Shower Valve with Volume Control is in good condition.
- These are excellent for maintaining a consistent water temperature, but they can be a bit intimidating to install if you haven't worked with "rough-in" boxes before.
Component Breakdown
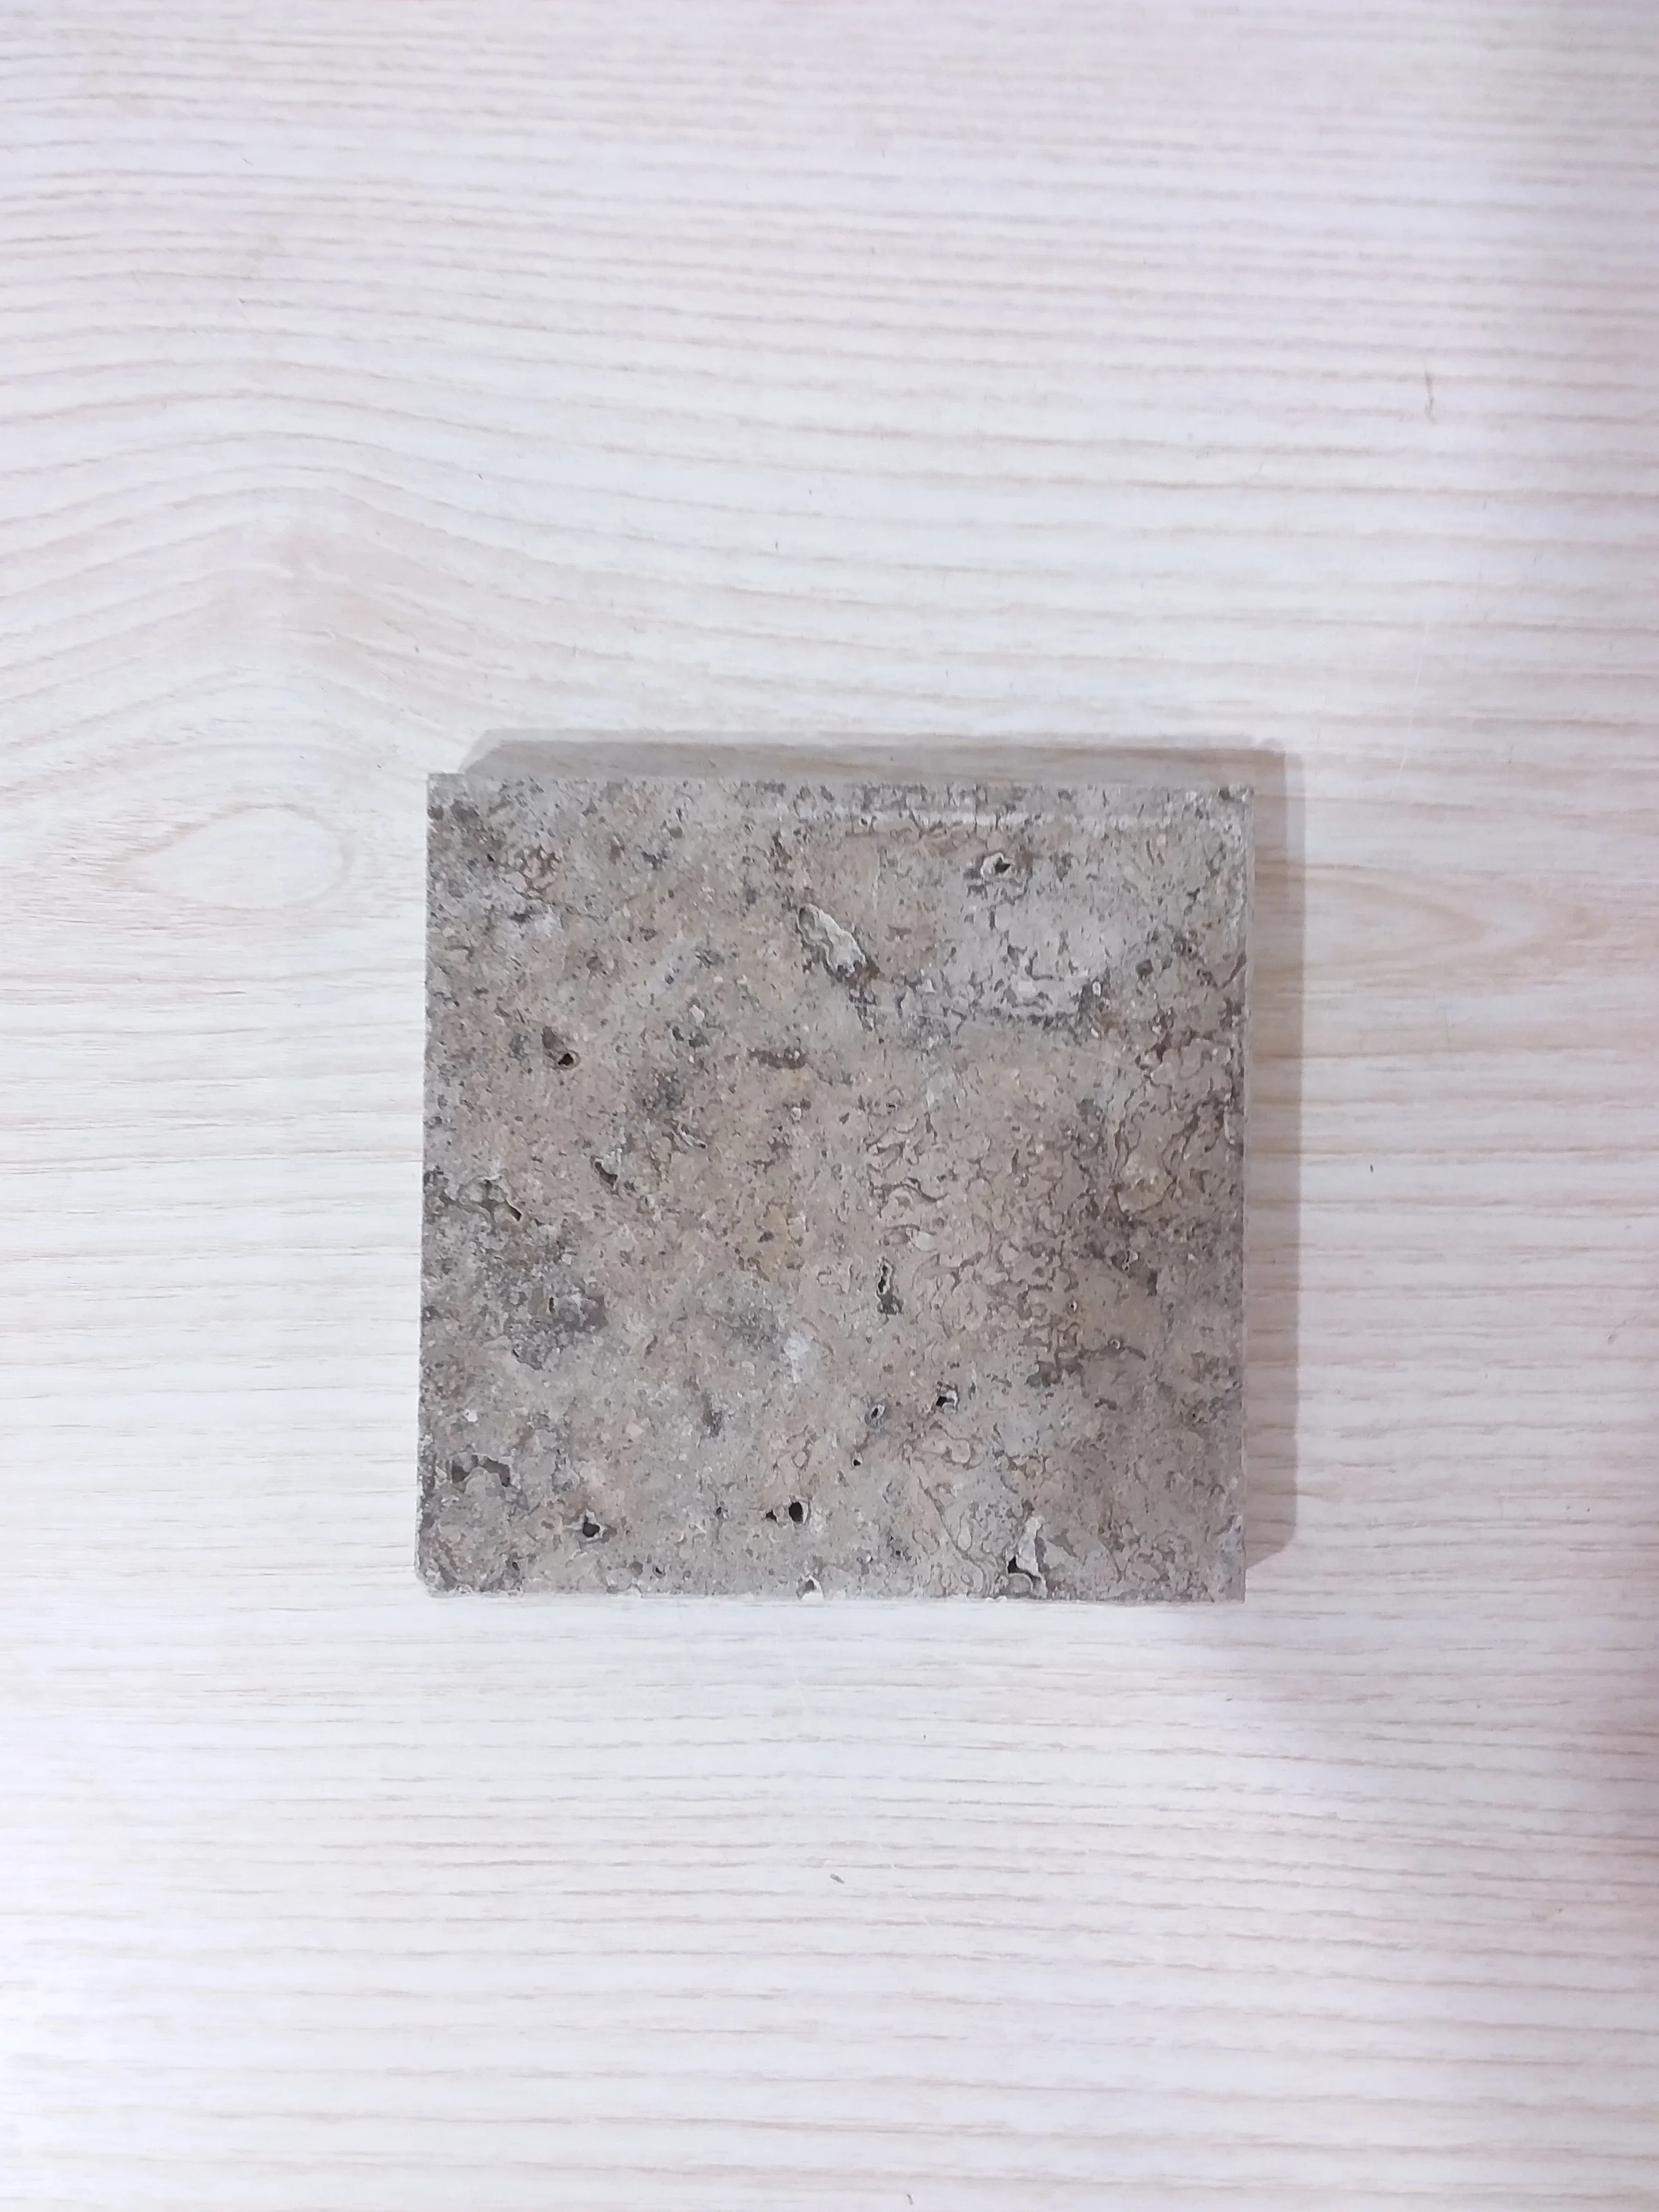
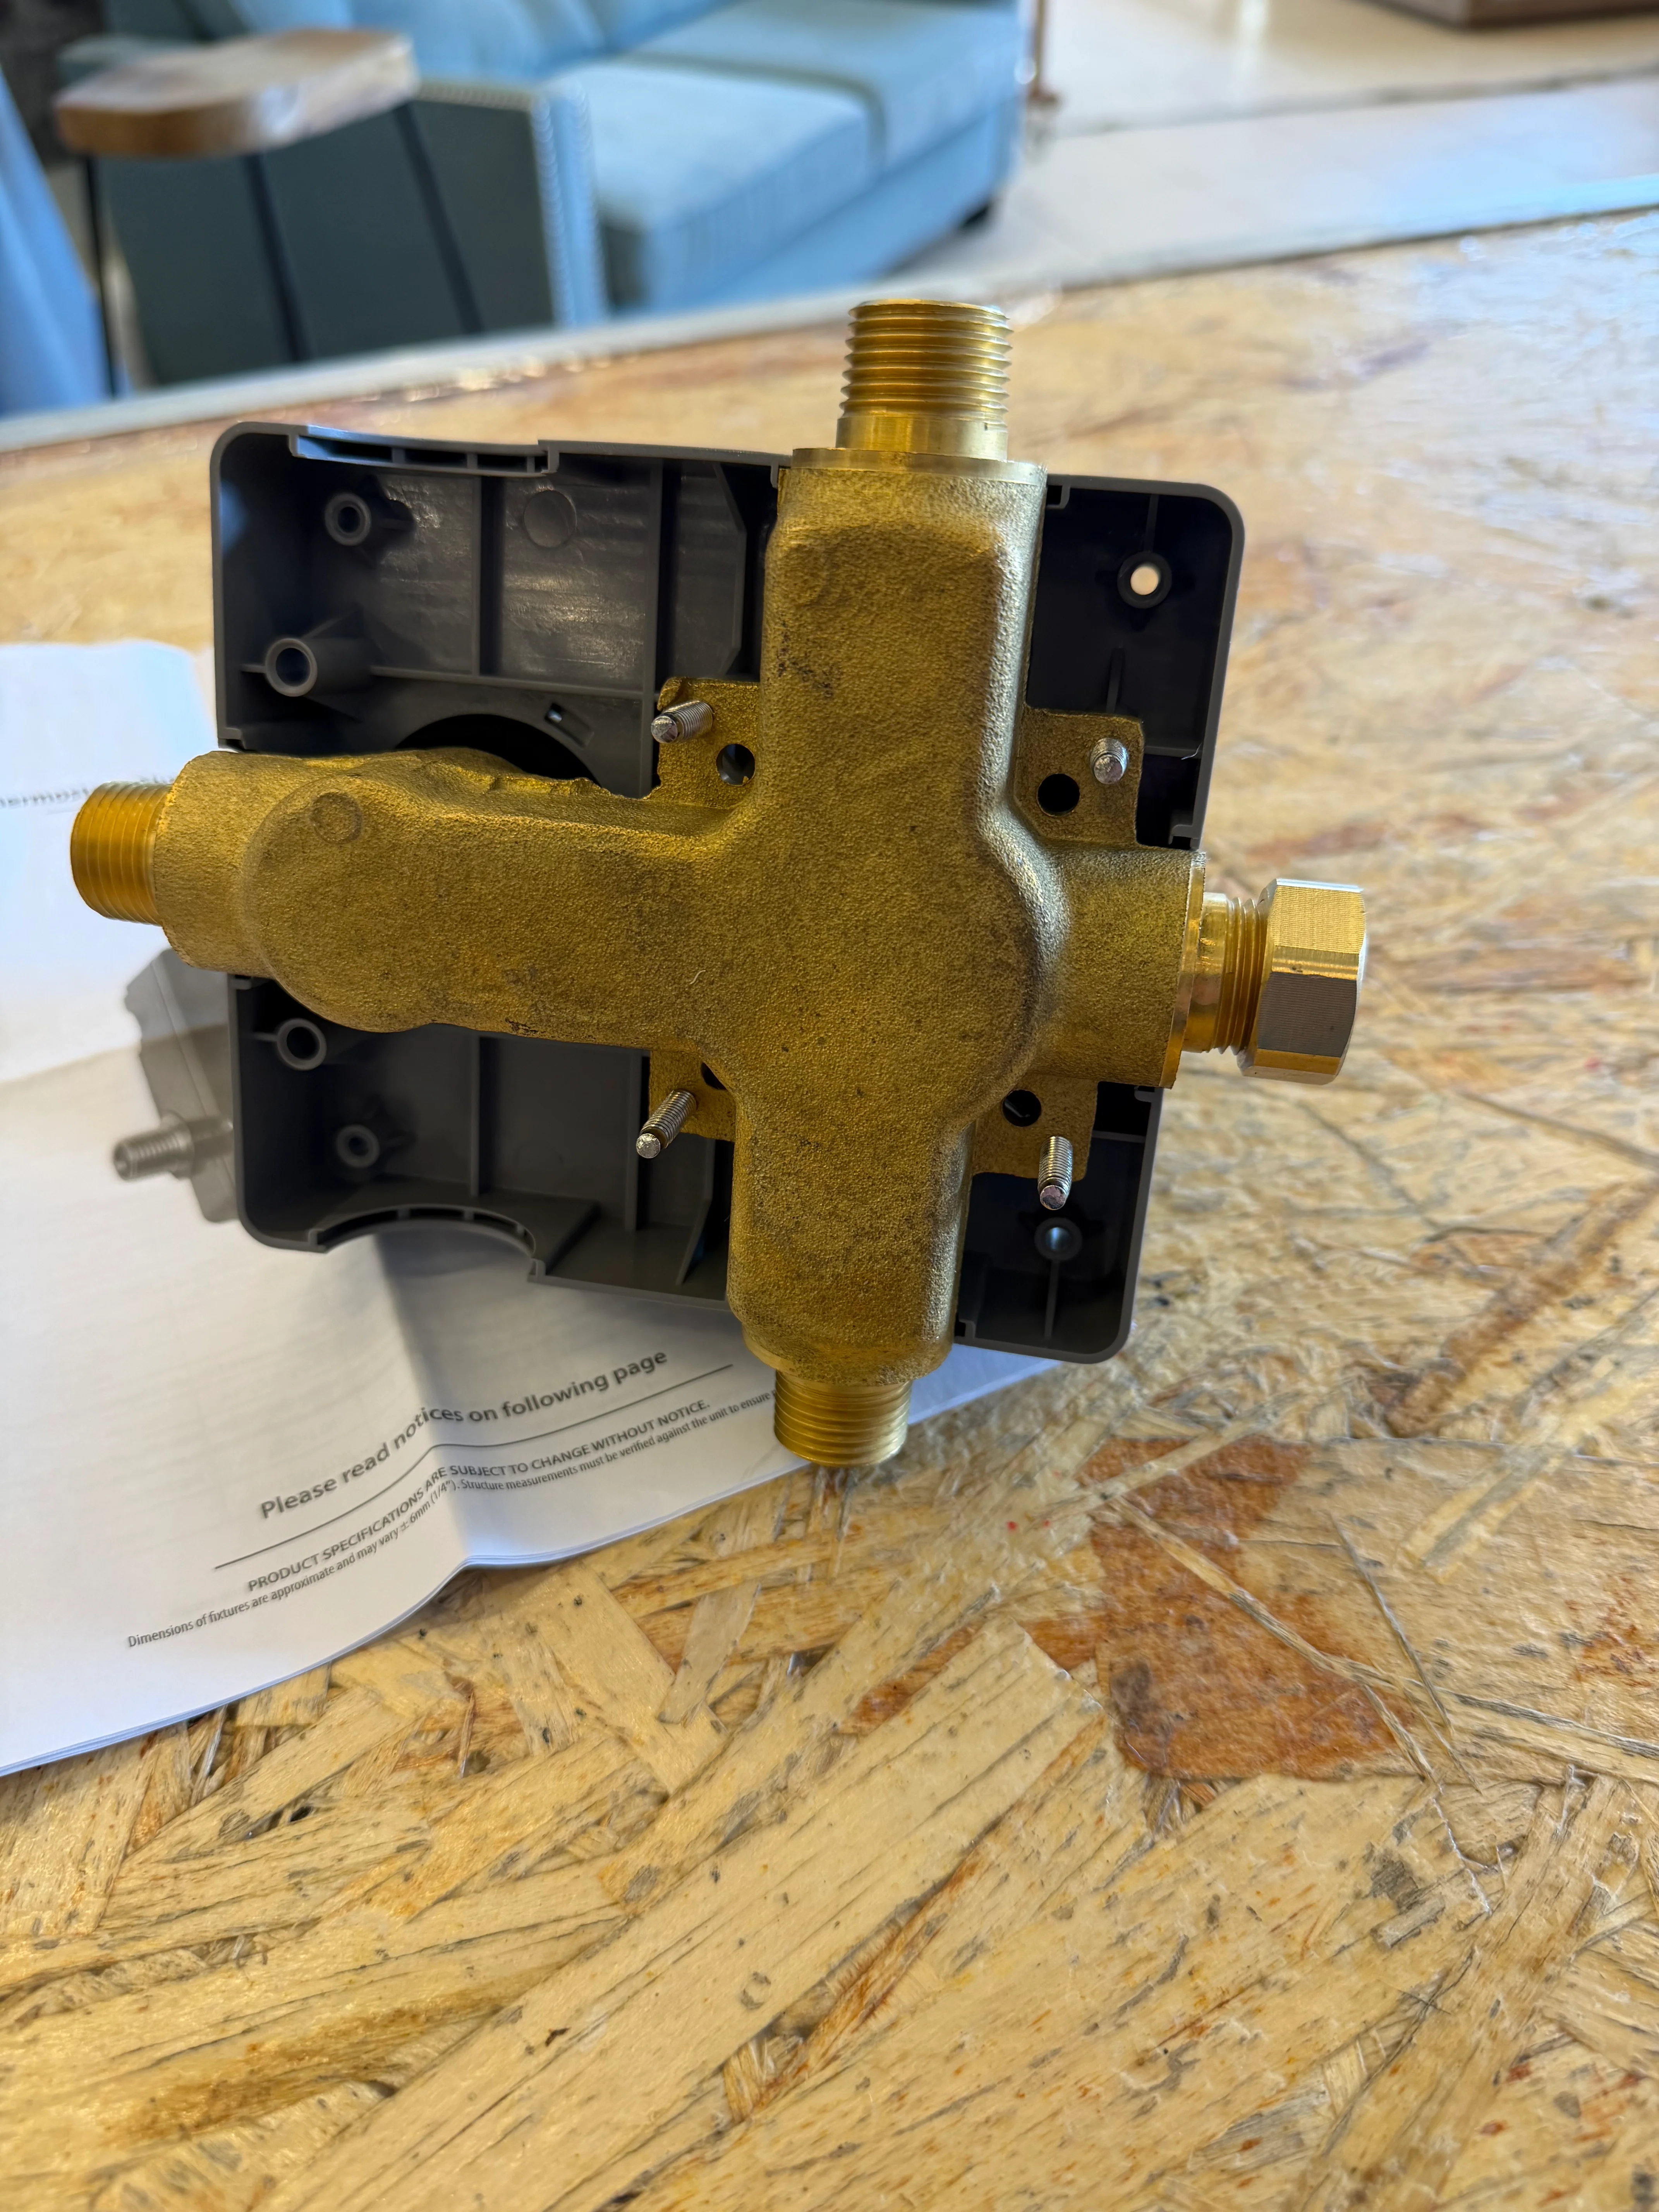
- The Rough-In Box (Grey Plastic): This protects the brass valve during construction. It also acts as a depth guide for your finished wall (tile/stone).
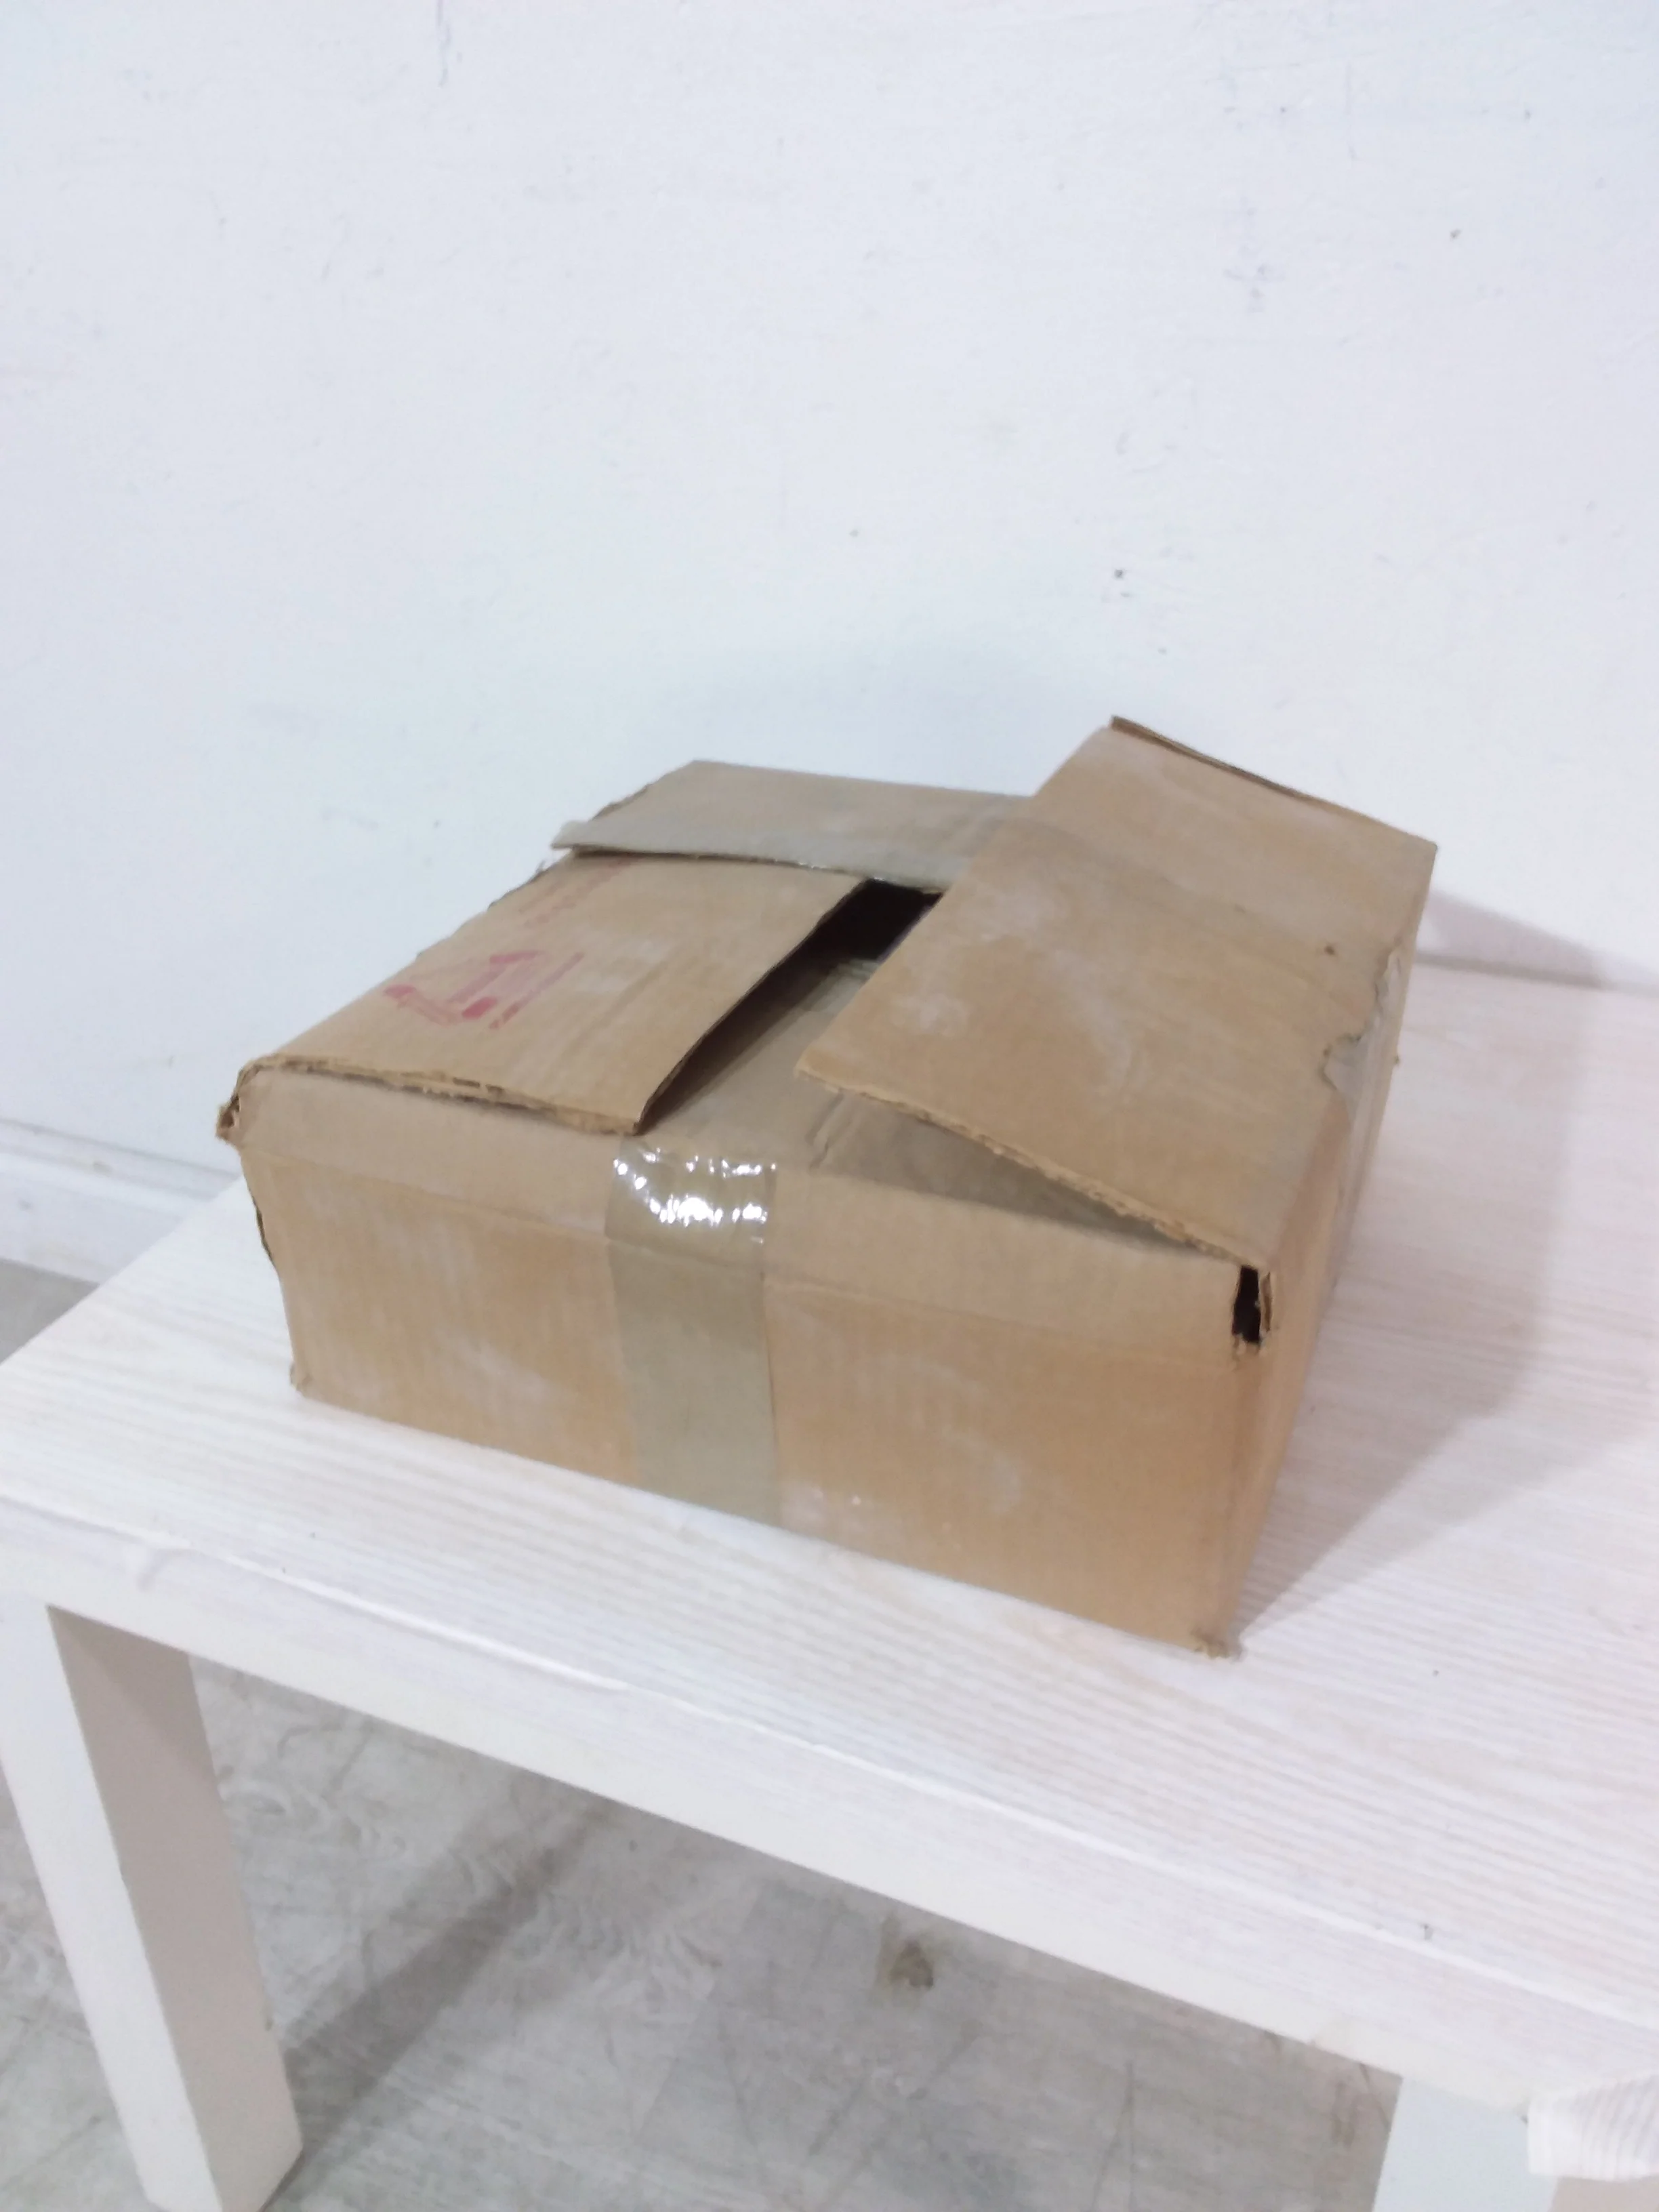
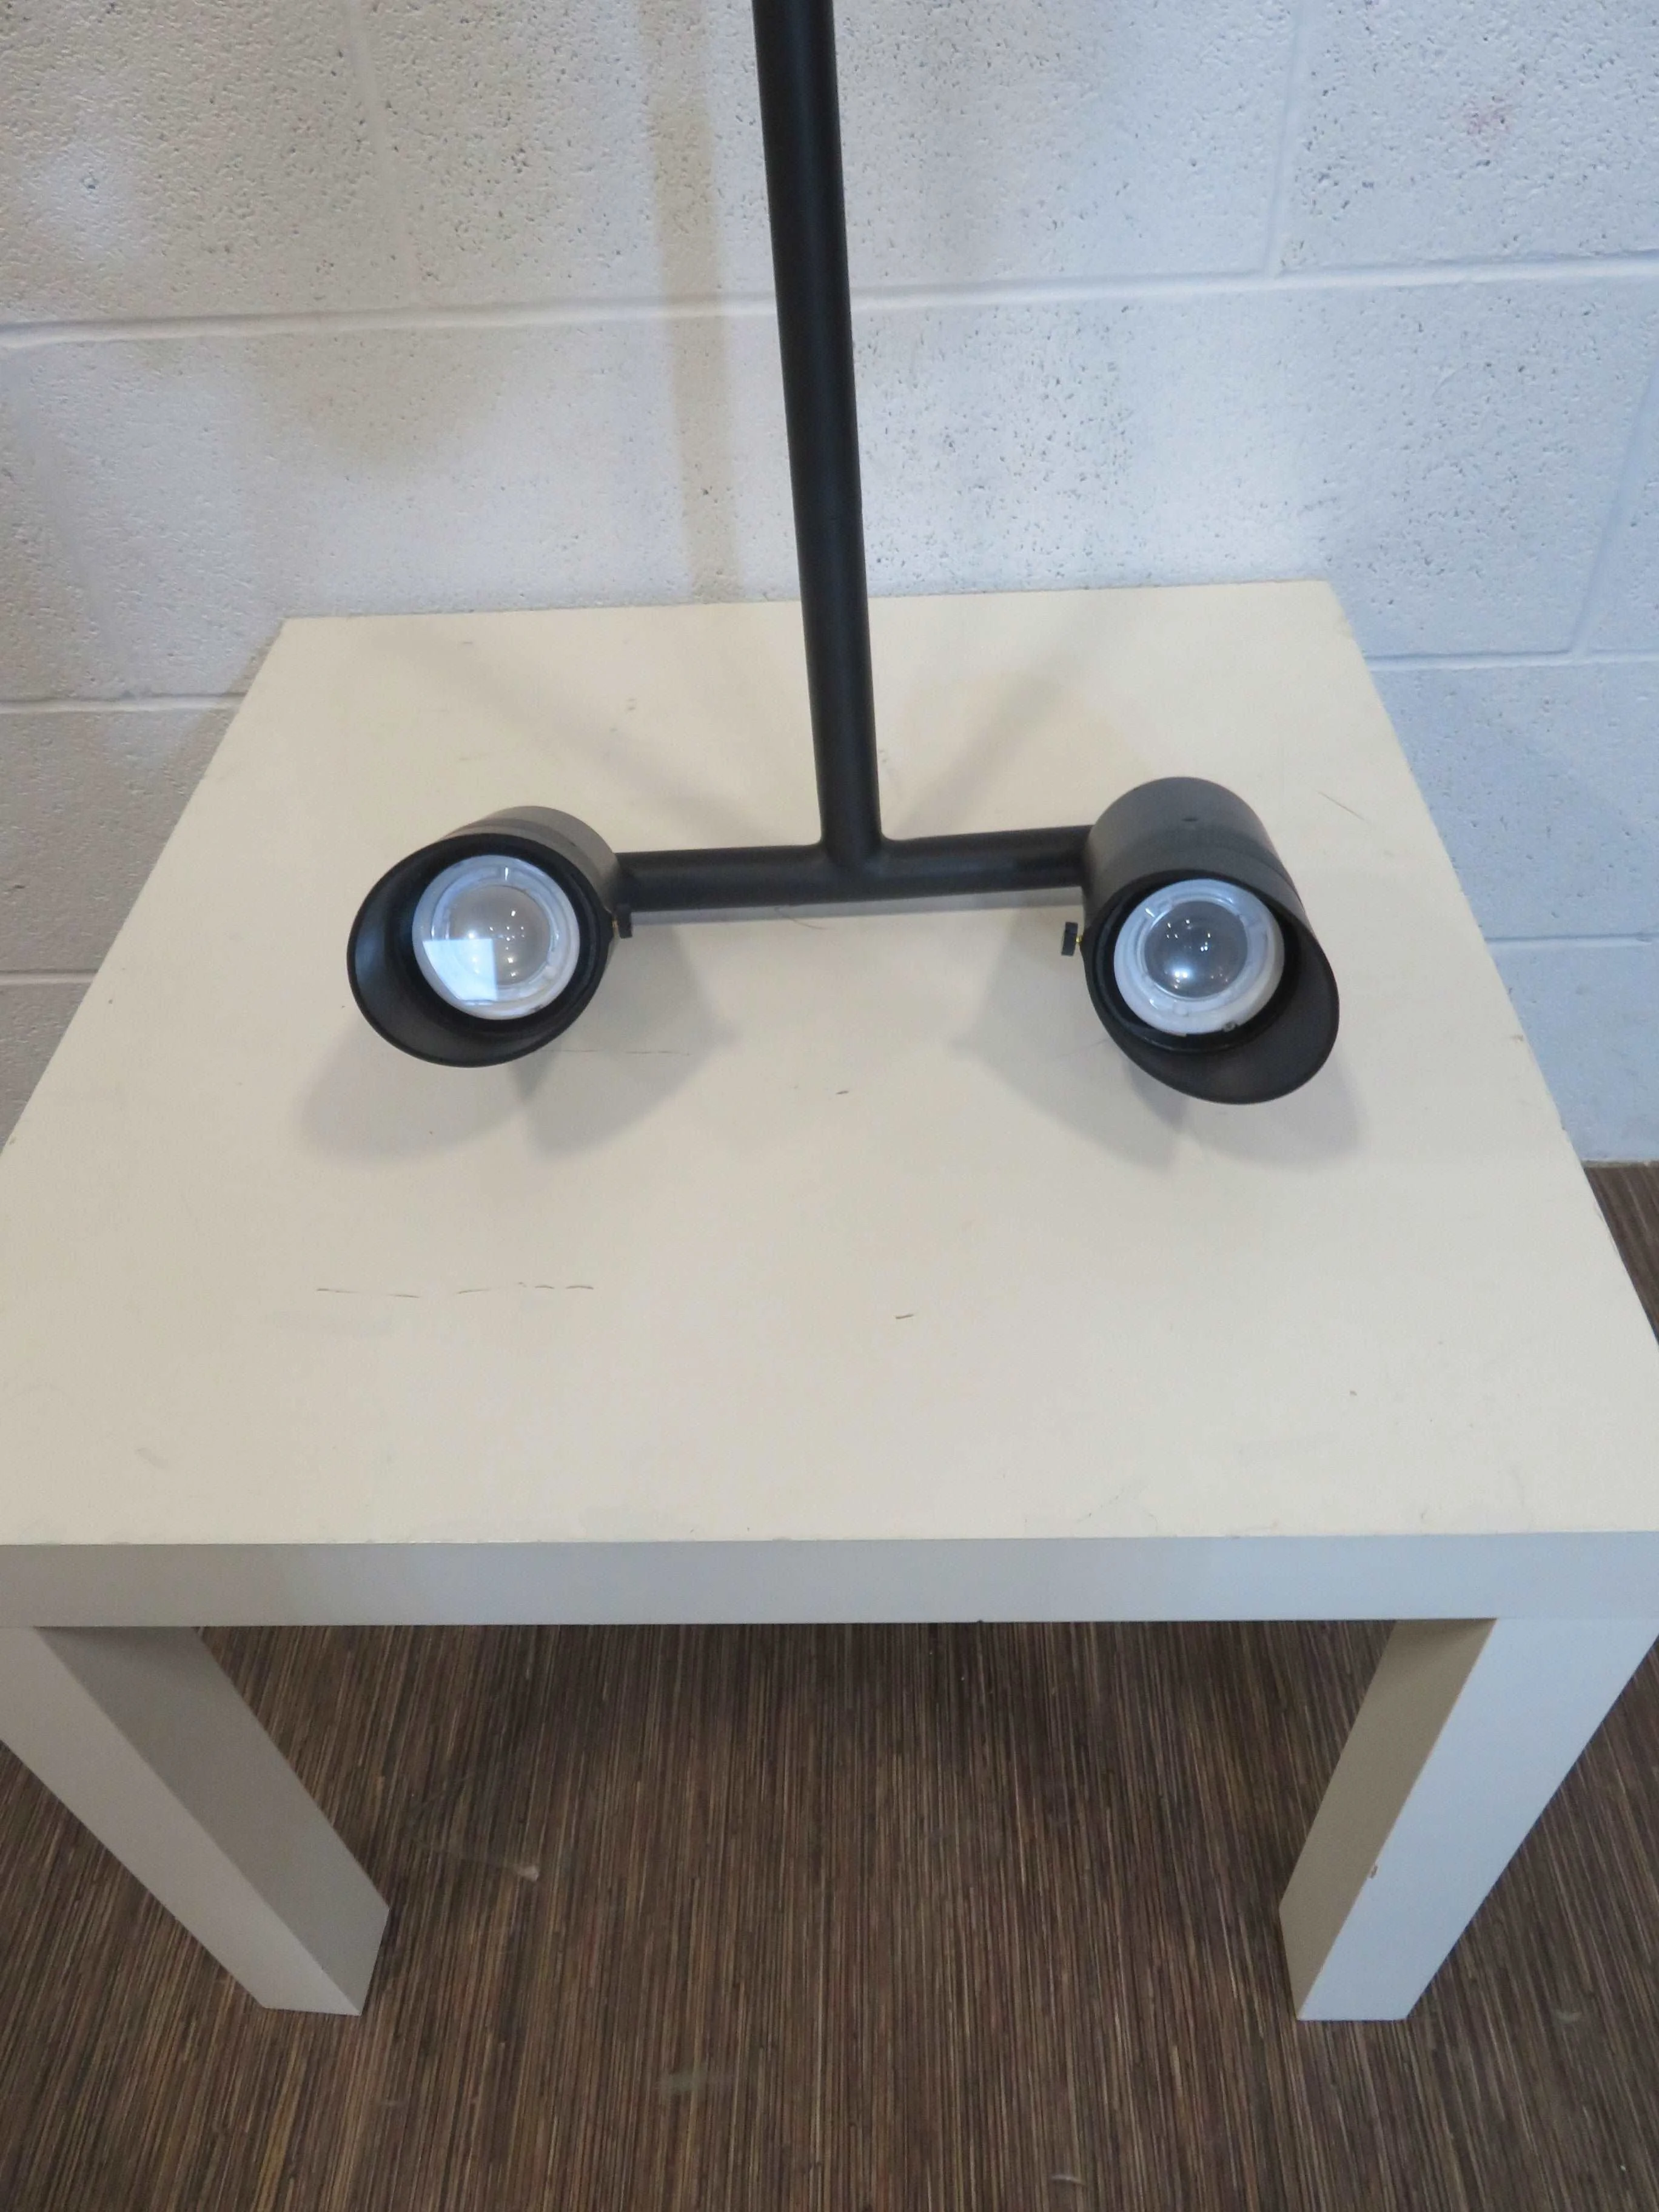
- The Guard Caps: Those grey cylinders protruding outward are protective covers. They keep debris out of the cartridge stems until you are ready to install the trim (handles). •
- Integral Stops: See those two brass screw heads inside the box on either side? Those are shut-off valves. You can turn them to cut water to the shower without turning off the whole house—super handy for future maintenance.
Key Installation Essentials
1. Orientation is Everything
Look closely at the grey box and the brass valve. There are usually arrows or labels:
• "Hot" and "Cold": Usually, Hot is on the left and Cold is on the right. Mixing these up is a major headache to fix later.
• "Up": Ensure the arrow pointing "Up" is actually facing the ceiling. This ensures the diverter or volume control works correctly.
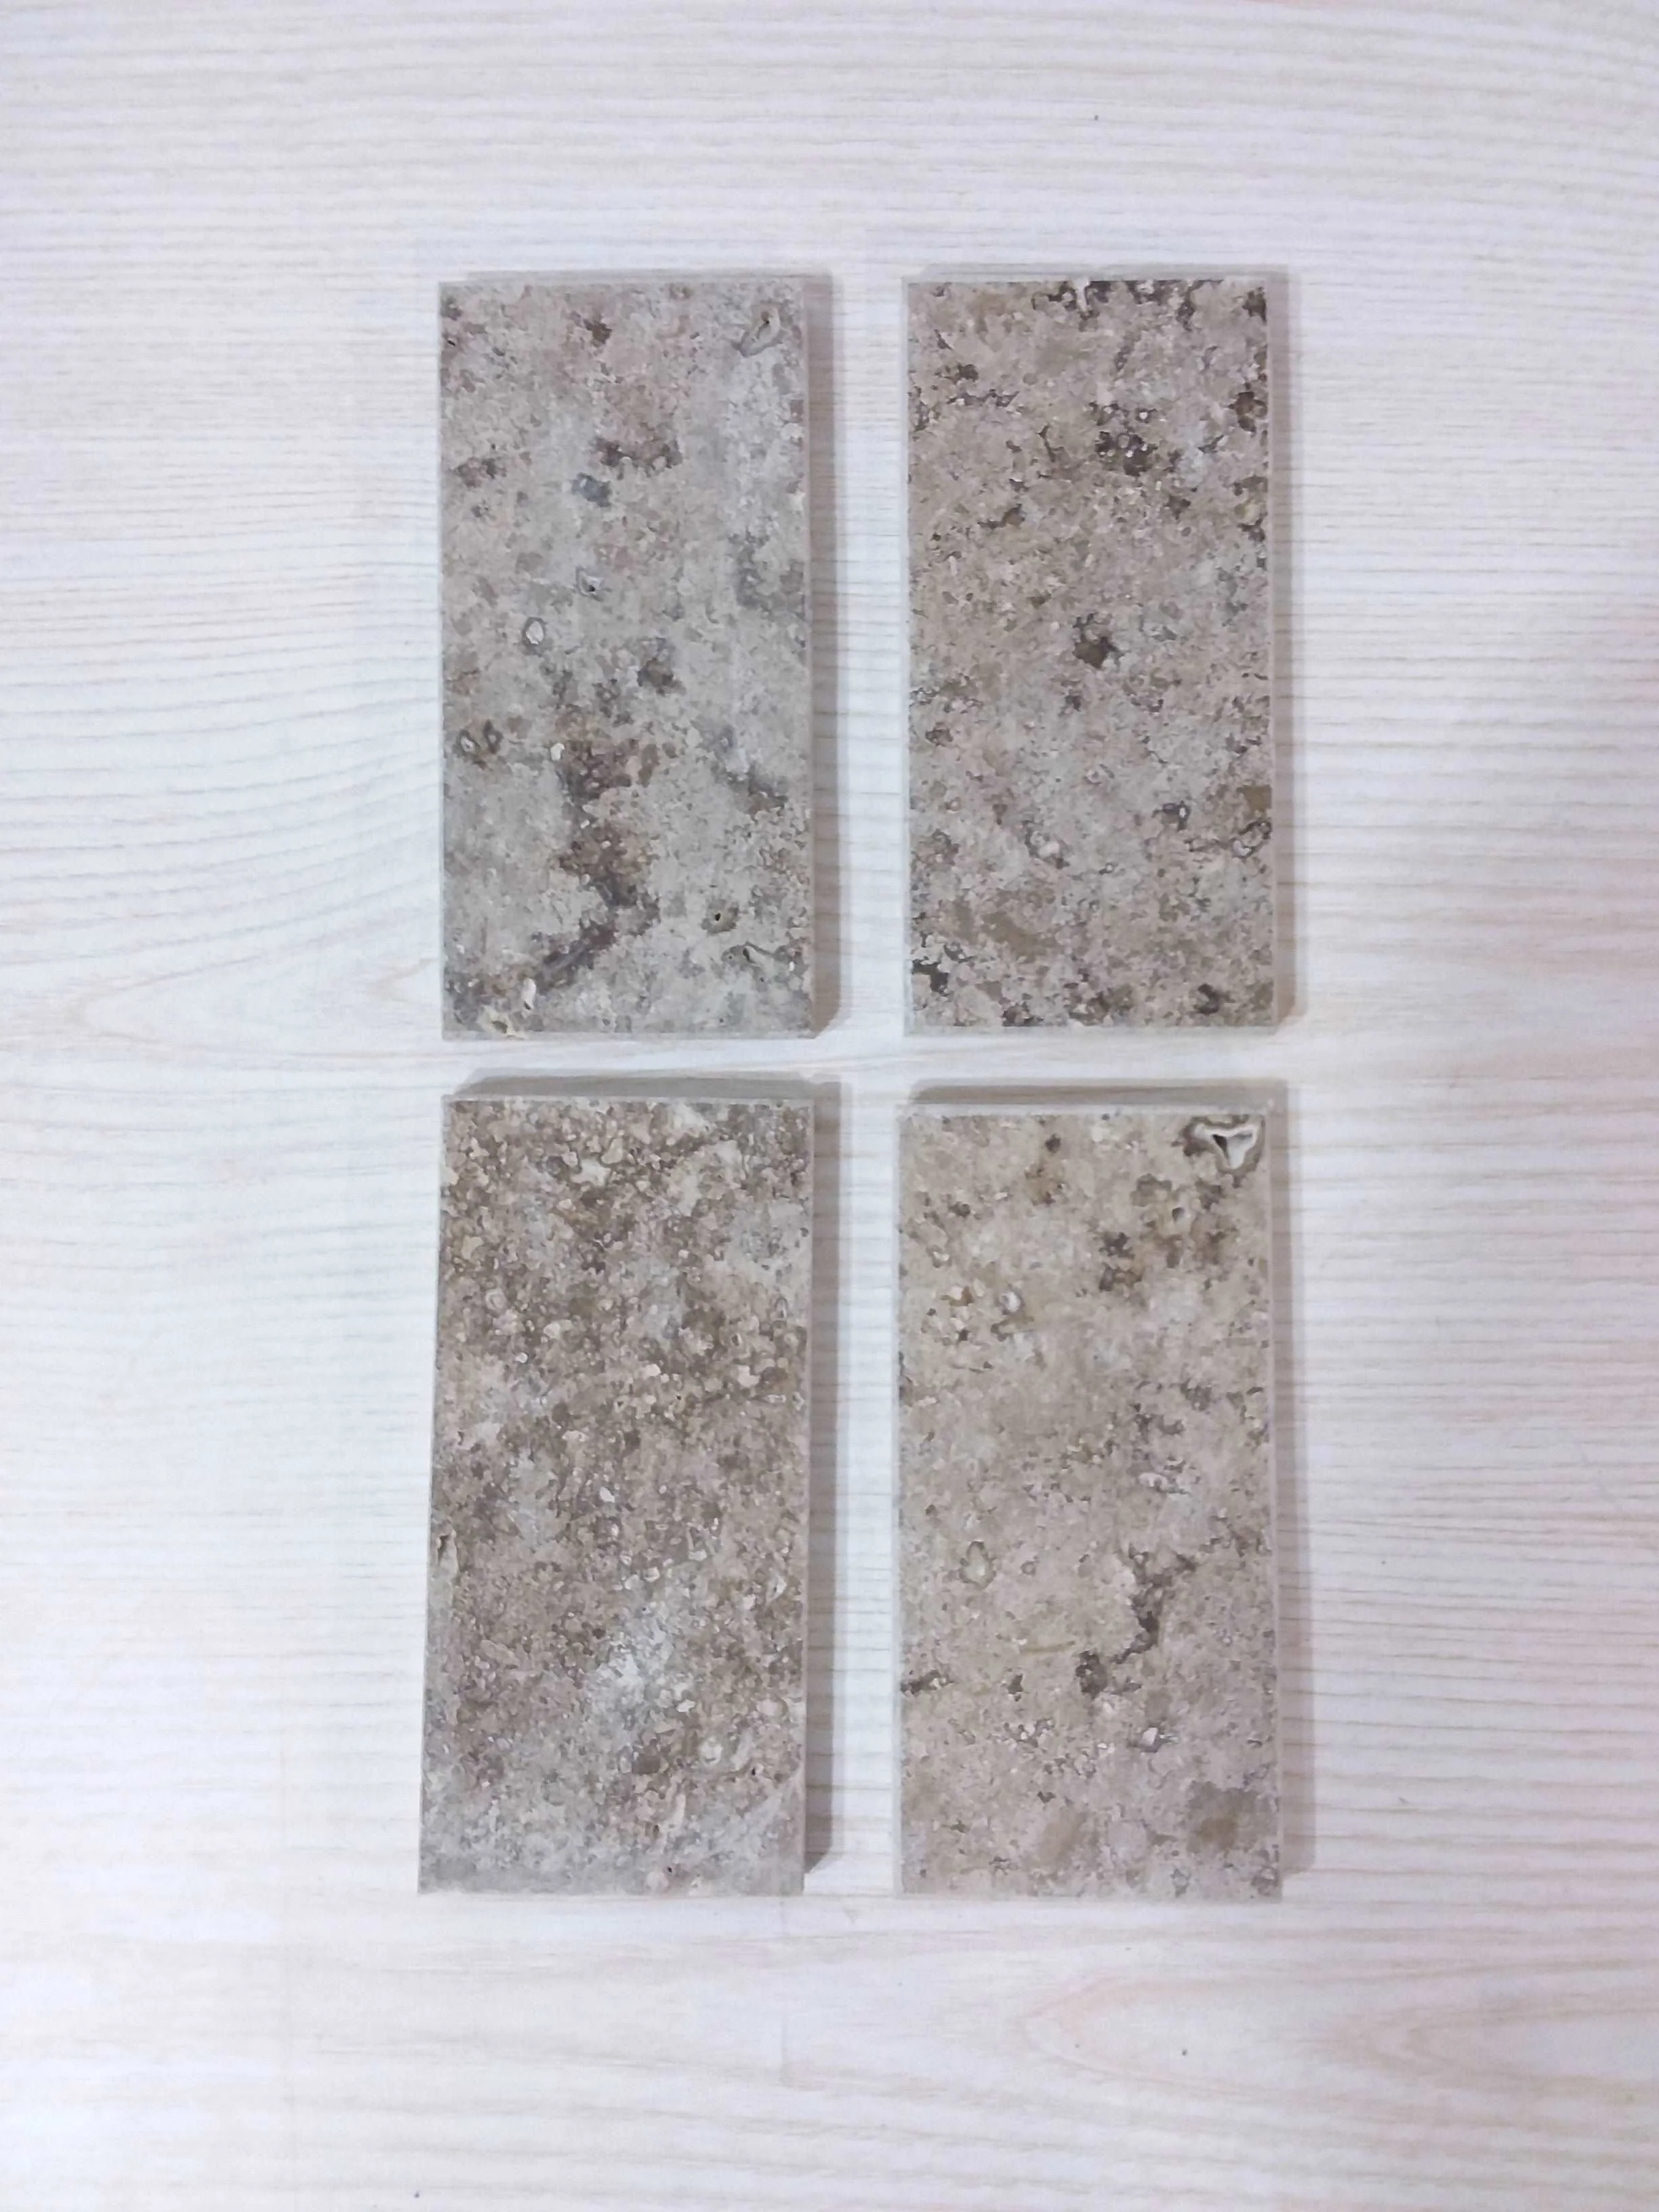
2. Set the Depth Correctly
The most common mistake is burying the valve too deep or leaving it sticking out too far.
• Check the manual for the Minimum/Maximum mud guard depth.
• Your finished wall (tile + thinset + backer board) must fall within the range indicated on the side of that grey plastic box.
3. Flushing the Lines
Before you put the final cartridges in or close up the wall:
1. Remove the internal components (if the manual suggests).
2. Run the water to flush out any solder flux or debris.
3. Debris is the #1 killer of thermostatic cartridges!
Details & Craftsmanship
Every detail has been carefully considered to bring you the perfect product.
Details & Craftsmanship
Every detail has been carefully considered to bring you the perfect product.
Description
- This out of box Aura 1/2" Thermostatic Shower Valve with Volume Control is in good condition.
- These are excellent for maintaining a consistent water temperature, but they can be a bit intimidating to install if you haven't worked with "rough-in" boxes before.
Component Breakdown
- The Rough-In Box (Grey Plastic): This protects the brass valve during construction. It also acts as a depth guide for your finished wall (tile/stone).
- The Guard Caps: Those grey cylinders protruding outward are protective covers. They keep debris out of the cartridge stems until you are ready to install the trim (handles). •
- Integral Stops: See those two brass screw heads inside the box on either side? Those are shut-off valves. You can turn them to cut water to the shower without turning off the whole house—super handy for future maintenance.
Key Installation Essentials
1. Orientation is Everything
Look closely at the grey box and the brass valve. There are usually arrows or labels:
• "Hot" and "Cold": Usually, Hot is on the left and Cold is on the right. Mixing these up is a major headache to fix later.
• "Up": Ensure the arrow pointing "Up" is actually facing the ceiling. This ensures the diverter or volume control works correctly.
2. Set the Depth Correctly
The most common mistake is burying the valve too deep or leaving it sticking out too far.
• Check the manual for the Minimum/Maximum mud guard depth.
• Your finished wall (tile + thinset + backer board) must fall within the range indicated on the side of that grey plastic box.
3. Flushing the Lines
Before you put the final cartridges in or close up the wall:
1. Remove the internal components (if the manual suggests).
2. Run the water to flush out any solder flux or debris.
3. Debris is the #1 killer of thermostatic cartridges!